
How to assemble your Bobbin Gingersnap
Hurrah! Your Bobbin Gingersnap has arrived and all that's left to do before the cycling adventure begins is to get it road worthy. So, in what right now may be a head scratching time we thought we would share with you our step by step method to assembling your Bobbin Gingersnap.
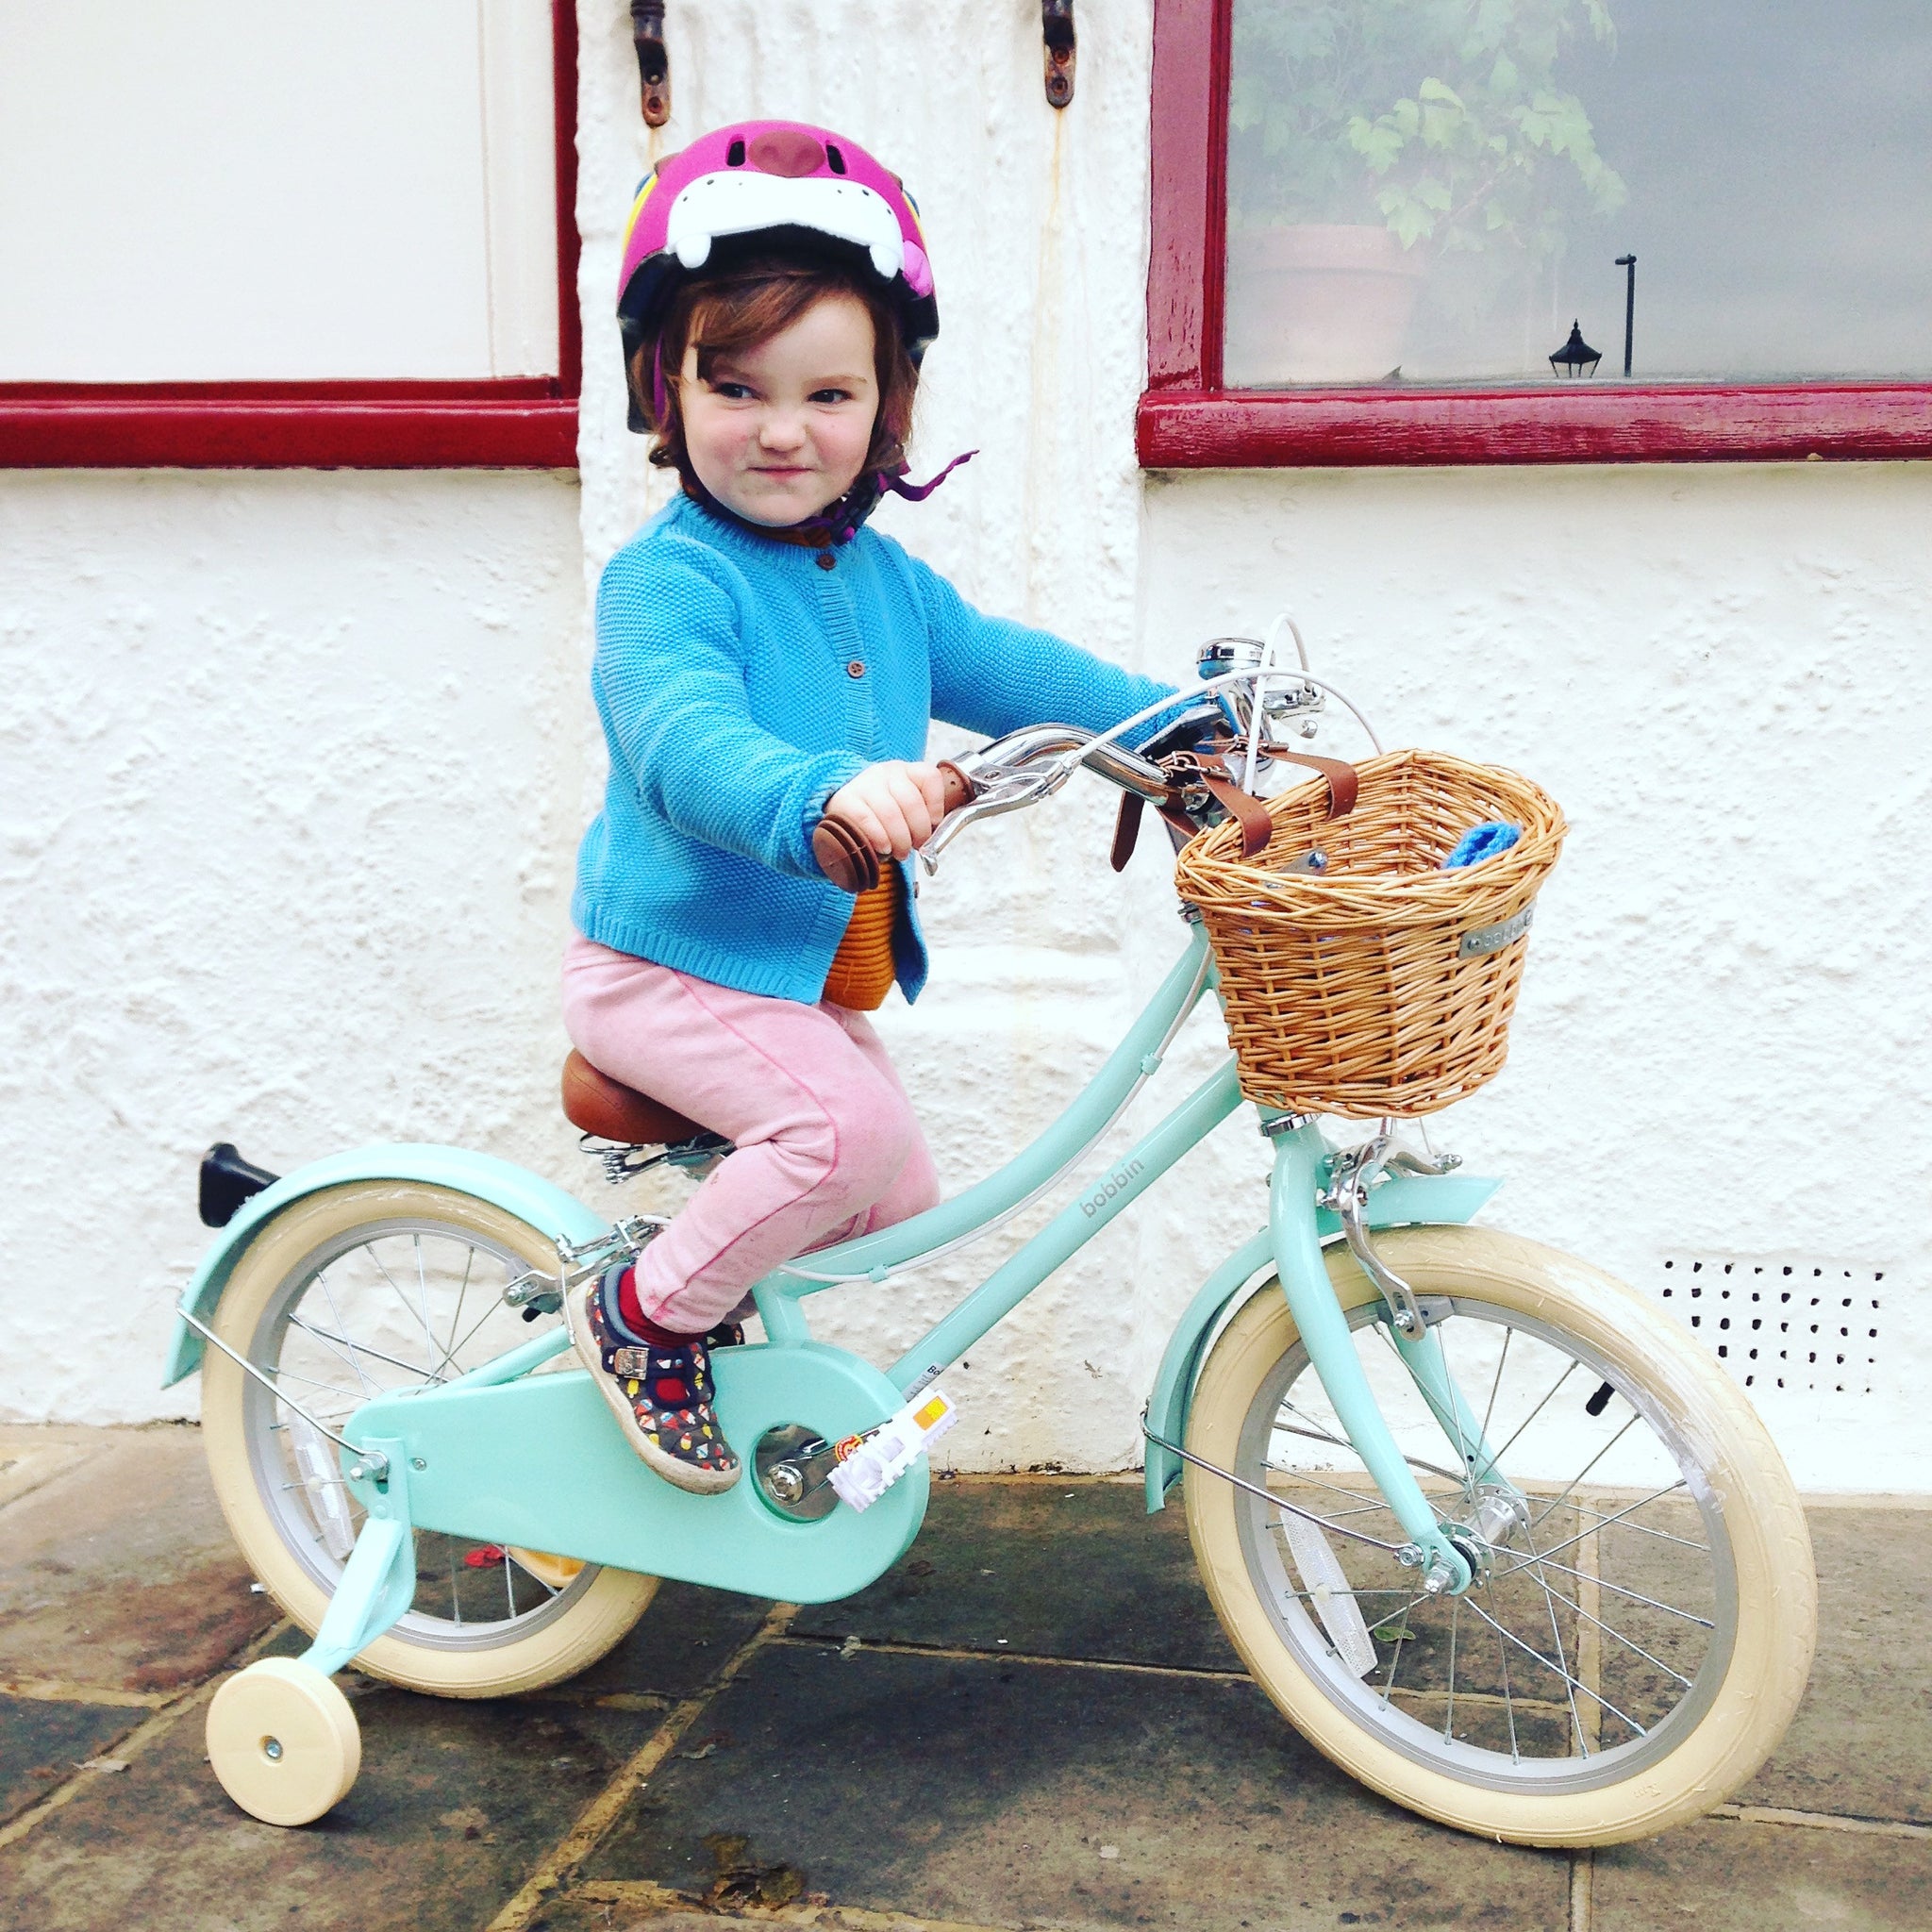
The Gingersnap featured in this tutorial is the 16" but it can also be applied to teh whole of the Bobbin kids range.
So, let's crack on. First things first, assemble your tools. To easily put together your Gingersnap you'll need the following:

- An adjustable spanner
- A 5mm alan/hex key
- A cross head screw driver
- A pedal spanner (not essential if you don't have one)
Once you've got your Bobbin Gingersnap out of the big cardboard box it arrived in, it should look a little something like this:

1. Handlebars
Stand your Gingersnap so that it is balancing on the rear wheel and the front forks. Pick up the handlebars and slot them into the headset.

Sometimes a bit of wiggling is required to get them in but once there remove the black plastic cap that sits in the center of the handlebars.
Then make sure the handlebars are straight and in the correct position for riding and tighten the central hex bolt that sits under the plastic cap. This is the only thing that prevents your handlebars from popping out so ensure it is done up really tight.

You can adjust the angle of the handlebars by loosening the hex bolt on the stem clamp.

2. Front wheel
Once your handlebars are in place, move onto the front wheel. Slot the front wheel into the two vertical drop outs of the front forks.

Before you tighten anything make sure the two safety washers are sitting in the correct position - between the wheel nuts and the drop outs and positioned in the holes provided.
Like so,

Then tighten your wheel nuts with your adjustable spanner, again really tight! A tip for tightening your front wheel is to wind in each side equally as you go. Tighten your wheel nut one rotation on one side and then move to the other, and then back again and so forth. Avoid tightening one side all the way and then the other as your wheel will be out of line.
3. Front mudguard
Have a look at the back of your front forks and you'll see a nut on the rear side of your brake. Take it off and you'll be left with the end of your brake rod poking through the center of your forks.

Grab your mudguard and slot the brake rod through the tab.

Then replace the nut and tighten. A tip for tightening your Bobbin brakes - hold the calipers roughly central as you tighten to avoid them slipping over to one side and resting on the wheel rim. You can over tighten your brakes and cause this is happen. If you do then loosen the nut, realign them centrally and start again.
4. Mudguard stays
You'll notice on your mudguard that there are two mudguard stays/supports. They screw into the two holes provided on the base of the front forks.


5. Pedals
Take your pedals and you'll notice they have left (L) and right (R) embossed on the inside of the spindle. Wind each pedal on the correct side of the crank arm by hand and when it is hand tight give it a last squeeze with your spanner. Tip! Remember, you always rotate right when screwing anything onto a bike thread.


6. Saddle
Insert the end of the seat post into the main down tube.

When it is at the height you need, tighten the seat bolt clamp at the top of the down tube.

7. Stabilisers
Remove the rear wheel nut and mudguard stay from the rear axle and insert the axle through the hole in the stabiliser arm. Then screw the wheel nut back onto the spindle making sure it is tight.


Once the stabilisers are in place check that the bike wheel has good contact with the ground and that there is a little tilt from side to side.
8. Basket
You'll find two screws already attached to your wicker basket. Remove the buts and insert these screws into the holes on the basket support. 
And tighten using a spanner on the nut whilst holding the hex head in place with a hex key

And you're done. Here's to a life time of cycling adventures!